Selecting
stencil design & applying to glass
2. Choose the design of your choice and carefully cut
the stencil sheet and the frosted backing sheet together
to avoid touching the back side of the stencil sheet.Measure
carefully to determine where you will locate the stencil
on the glass or mirror. Separate the blue stencil sheet
from the frosted backing sheet. Put aside the frosted
backing sheet to be used later. Place stencil sheet on
the glass with the blue (tacky) side touching the glass.
Secure stencil sheet temporarily to the glass with masking
tape.
3. Using the wood stick enclosed, transfer the stencil
from the sheet to the glass surface by rubbing firmly
over the design with smooth, even strokes. Rub left and
right, then up and down. Do not dig into the stencil.
You will be able to see the stencil being transferred
by the change in color from a dark blue to a lighter blue.
Be careful when you rub near the edge of the stencil not
to peel it back up by accident.
Remove top carrier sheet
4. When the entire stencil has been adhered, carefully
remove some of the masking tape and slowly peel back the
clear top sheet. If the stencil has not been totally adhered
to the glass, put the top sheet back down and re-rub area
until all pieces are adhered.
Preparing
the glass for etching
5. Apply a border of masking tape around the entire stencil
overlapping the tape on the blue stencil by 1/16? to 1/8?,
being careful not to overlap the design.This overlap prevents
the etching cream from contacting the glass and etching
unwanted areas! If a very large area of glass needs to
be protected, use strips of adhesive backed shelving vinyl.
When all sides of the stencil have been taped, use the
white frosted backing sheet to lightly rub over the entire
stencil area. Check the stencil for small tears or holes
by holding the project up to the light. If any holes appear,
cover them with small pieces of tape. Be careful where
you put the tape, because the stencil will tear if you
try to remove it.
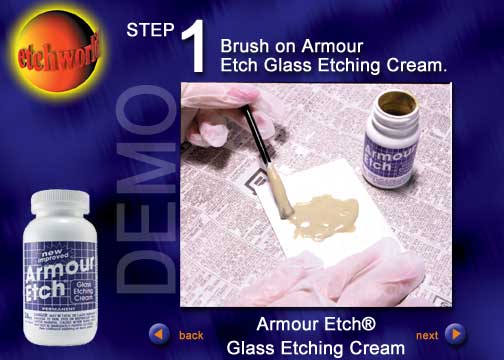
Applying
the Armour Etch cream
6. For best etching results we recommend that the room
temperature, the etching cream temperature and the object
you are etching be over 70 degrees. Shake the ARMOUR ETCH?
Cream thoroughly. Work in a well lighted and well ventilated
area near a water source. Wear plastic gloves and protective
eyewear. You must apply a thick layer of etching cream
in order for the chemical to react properly on the glass
or mirror. Thick enough so that you cannot see the design
of the stencil through the Armour Etch? Cream. Stay within
taped area.
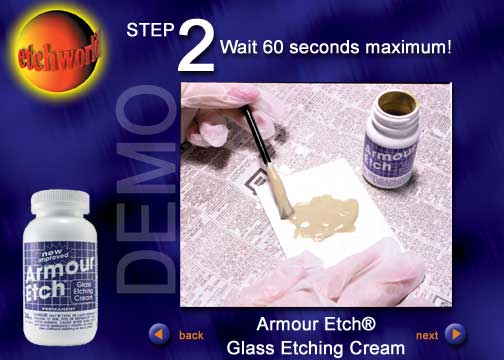
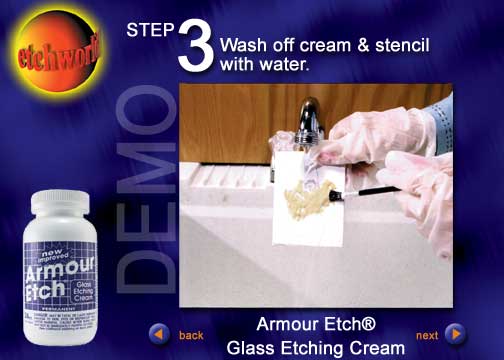
Removing
etching cream & stencil