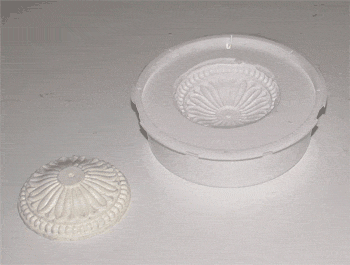
Faced with the problem of making some decorative plaster disks to decorate a model - this is how we went about it.
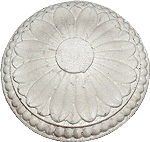
Silicone moulds can be made either by brushing or by
pouring. For flat backed objects it is easier and quicker to make the
mould by pouring.
SELECTING A CONTAINER IN WHICH TO MAKE THE MOULD
As with any poured mould the first thing we have to consider is how we
are going to contain the liquid silicone around the model.
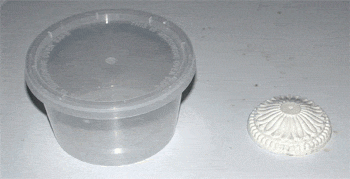
Fortunately with these smaller objects many suitable containers are to
be found ready to hand. Plastic containers are suitable and come in
shapes and sizes. What we want is a container that is about 1 to 2 cm
bigger all around and about 5 cm taller than the model. The clear
disposable plastic containers used for take-away food are ideal and
come in a variety of sizes.
For smaller items we fix the model to a small board and
surround it with a non hardening clay such as Plastelina rolled out
flat to about 1 cm thickness and cut and shaped to make a suitable
surround . Another method is to use Lego blocks built up to the make a
closed container around the model.
All of the methods require the model to be fixed to the base of the
container to save it moving or floating up out of position when the
silicone is poured in to the container. The model can be glued with a
hot glue gun or simply press the model down on a small ball of
Plastelina.. This will squeeze out any surplus clay from under the
model and firmly adhere it to the container base. It will be necessary
to clean any excess clay from around the base with a small pointed tool.
USING A PLASTIC FOOD CONTAINER AS A MOULD
DAM
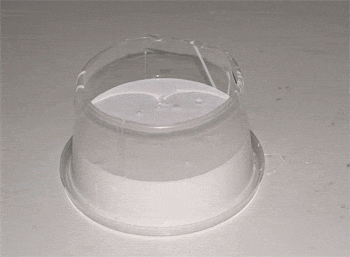
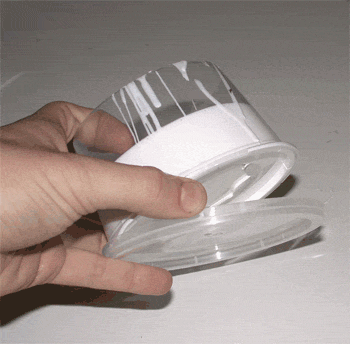
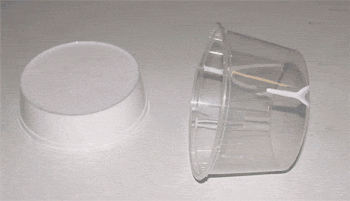
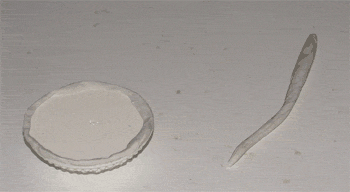
(1) Leave the lid on the container and cut out the base
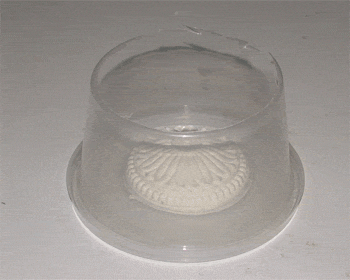
(2) Place the container on a flat level surface and
secure the model to the base using either a glue gun or Plastelina clay.
(3) A release agent is not usually required as silicone will not adhere
to most articles, however there are exceptions. It is good idea to test
if using anything new. When required we use a release of vaseline or
petroleum jelly. As it is difficult to spread it on evenly we dissolve
10% of petroleum jelly in a solvent such as white spirit and spray it
on with a cheap hand garden sprayer. This evaporates quickly and leaves
an thin even film of the jelly.
(4) Silicone comes as a two part kit which must be weighted separately
as per the instructions that the manufacturer supplies. CraftSil 750 a
commonly used silicone for general mould making for instance requires
10 parts of Part to 1 part of Part B by weight. Usually the amounts
required for measuring are supplied for those that do have accurate
scales, however this is not as reliable a method as weighing.
(5) We find it convenient to use waxed disposable paper
cups to weigh and mix the two parts using wood stirrers. Mixing is very
important, as improperly mixed silicone will leave weak uncured parts
in the mould.
Pour the Part B into the container containing Part A and mix
thoroughly, scraping the sides and the bottom with your mixing action.
Try not to be so violent as to mix air into the mix rather use a
folding action. Pour the mixed silicone back into the first cup and
remix before pouring into the mould.
(6) If there a great deal of detail or any undercuts it is sometimes
advisable to brush on a thin coat of mixed silicone onto the model
before commencing to pour. This will ensure all detail is picked up by
the silicone in what will be the detail reproducing part of the
finished mould.
Commence pouring a thin stream of mixed silicone into the mould into
the lowest section of the mould allowing the silicone to slowly rise
and cover the higher sections as you continue pouring Continue pouring
until you have at least 1 cm of silicone above the highest point of the
model.
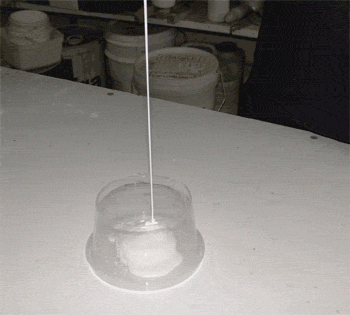
The thin stream of silicone you are pouring of silicone
will ensure that all air bubbles remaining in the mixture are broken
before reaching the mould. Hold the container from which you are
pouring the silicone at least 45cm above the mould container into which
you are pouring the silicone.
Another method is to drill a small hole near the bottom of the paper
cup in which you are about to mix the silicone and tape it over. After
mixing place it on a ledge or similar above the mould container and
remove the tape letting the silicone pour in the required thin stream
into the mould container. This is a good method for those who do not
have a steady hand.
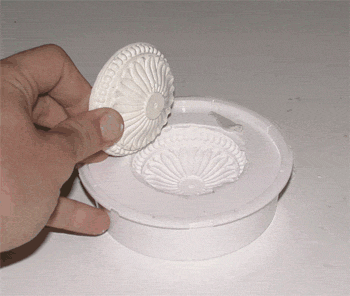
(7) Leave overnight and demould the following day by removing the
container lid and pressing gently from the top. The mould should come
out of the container quite readily and the model removed ready for
casting.
